
Shalom Shalom!
I hope everyone is well...
If you can recall in the Curry Lentil Stew entry, I had alongside it a loaf of homemade bread to go with the stew. With that, I said that I would be doing entries on bread making. While this recipe is not for that particular loaf--which was more artisan, this one is more of an everyday loaf.
This entry came about when I made a loaf of this bread and shared it on Facebook. I got at least 4-5 requests for the recipe. I gave it out to 4 people, and after those four people, I said that I would put it on the blog. And here it is...as promised,
I'm sure that everyone has a loaf of sandwich bread in the house, and if you have children, I'm sure that you have made more than your fair share of PB&J or grilled cheese sandwiches for your little ones (or even for yourself). Most of us resort to getting our loaves from the store--which may have many artificial ingredients or preservatives, and even ingredients that are unclean according to Torah. Knowing this, wouldn't it make more sense just to make the bread yourself? By doing this, you know what's in it or not. You also will gain the confidence in knowing that this skill is vital in being self-sufficient (in the event of a catastrophic event and there is no more bread and water at the store. It does happen sometimes). I knew I wanted to put this recipe on the blog after getting a number of requests on Facebook for the recipe. I noted that I would do this, and I am keeping my promise. I assure you, this is a very easy recipe and is a good one for bread making novices. Not to mention, it is indeed very delicious and healthy,

Here's what you'll need:
1 cup of warm water
2 1/4 teaspoons yeast
3 tablespoons honey
2 tablespoons olive oil
1 1/2 cups bread flour
1 cup whole wheat flour
1/2 teaspoon salt
First things first. Preheat oven to 375 degrees,

Take a large bowl. Add the yeast, water, and honey--in that order. Mix and let sit for 5-10 minutes. As you can see, right after stirring, there are bubbles and foam that start to appear. This is what you want,

While waiting for the yeast mixture to get ready, combine both flours and salt in a separate bowl.

This is what the yeast mixture looks like when it's ready. It should have bubbles and foam at the top,

Then, add the olive oil...

...and stir.

Add 1 cup of the flours (in the beginning) to the yeast mixture

Mix...

...until the mixture resembles that of French toast batter or crepe batter.

Add more flour--this time 1/2 cup at a time.

Mix, until the contents resemble a thick pancake batter.

Add more flour and mix...

...until the dough starts to come off on the sides of the bowl.

The dough is now ready for kneading.

Turn the dough onto a floured surface. You can use your hands, but I find it better with the dough scraper that I have in my hand. Oftentimes, there may be dough that sticks to the bowl. The dough scraper is perfect to SCRAPE the dough off of the bowl--which could be kneaded.
Knead the dough for about 5-10 minutes until elastic and smooth. The pictures below are of me kneading the dough in several different ways and directions--using the dough scraper, using my hands, Many of these pictures were taken by me, and some were taken by my Ish. You will see that in the kneading process, I am also turning the dough on each other--as well as bunching and pushing the dough...


After 10 minutes, your dough should look similar to this. When you poke it, it should bring back in the area that was poked.

Take a large bowl and add oil in the bottom. Make sure you get oil on the sides of the bowl. This could be done by either whirling the bowl around--thus moving the oil, or you can take a paper towel and wipe the oil inside of the bowl until it is covered.

...put the dough in the bowl,,,

...and roll it around in the oil until it is covered,

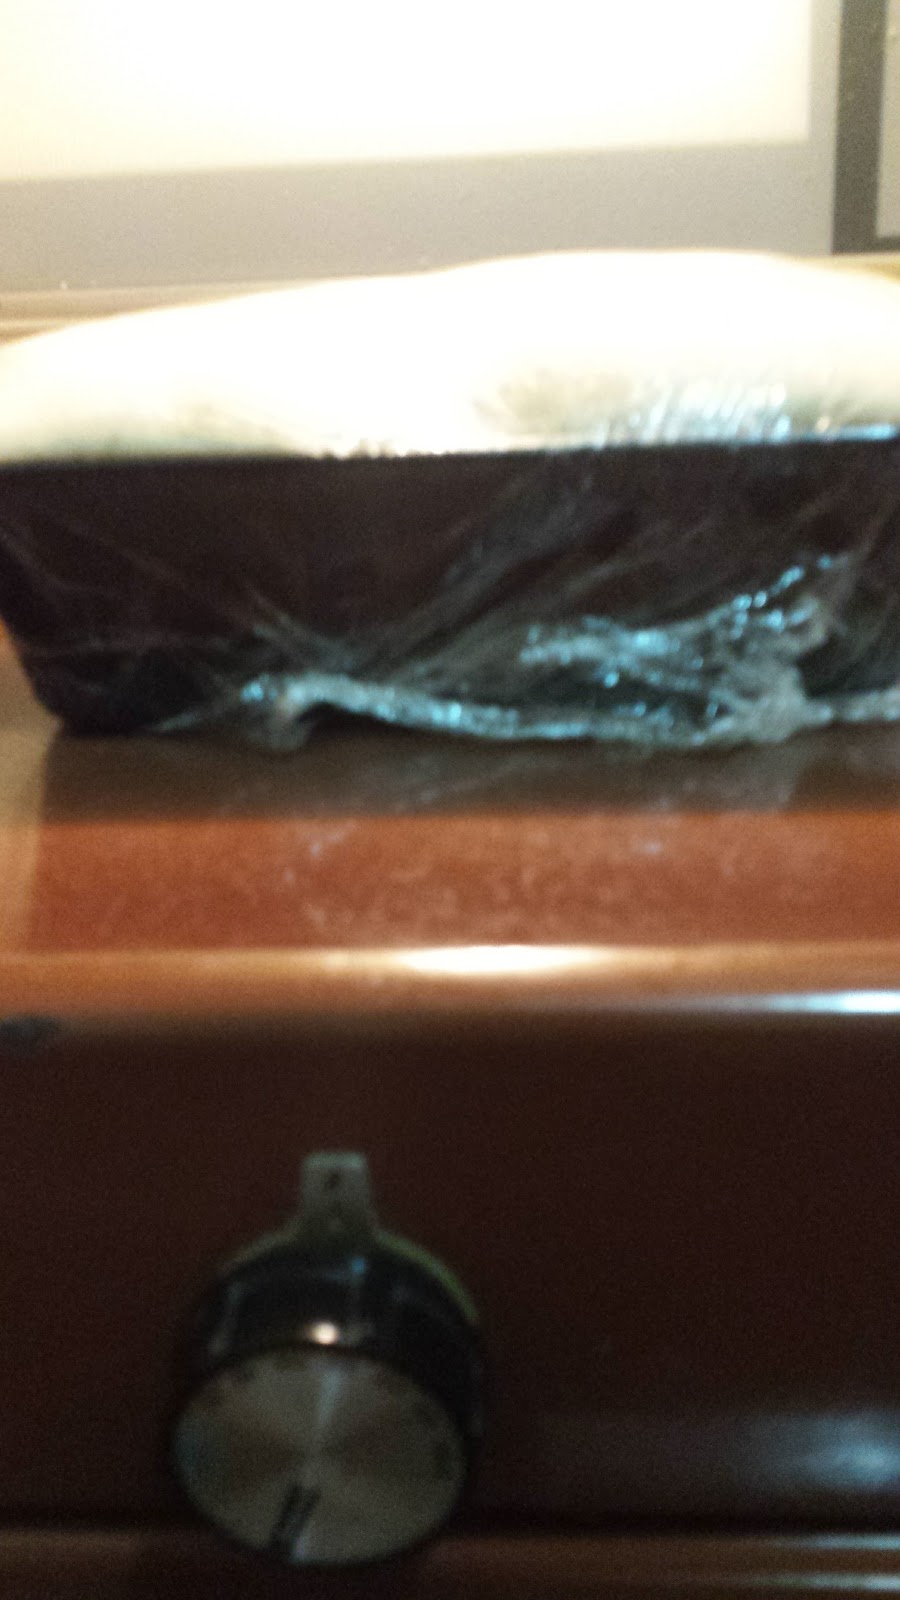
Cover the bowl with plastic wrap and let sit in a warm place for about one hour to rise.

One hour later, and look at how the dough has risen!

Now, gently, remove the dough from the bowl and flatten it onto a floured surface. (I used a cutting board for this). Roll width-wise and tuck the ends under...

...like this. And here is your dough in the shape of a loaf.

Prepare the loaf pan by adding oil to the bottom and sides (what I did here was put some olive oil in the bottom, and with a paper towel, wipe it around in the bottom and on the sides).

Gently insert dough into pan.

Cover with plastic wrap, and set in a warm place for about 30 minutes for a second rising (I used the same plastic wrap from the first rising).
30 minutes later. Look at how the dough has risen in the pan! This baby is ready for the oven. Bake for 30 minutes.

30 minutes later. Look at that golden brown color! Allow to stand in the loaf pan for 15 minutes...

...then transfer to a loaf pan to cool completely. Enjoy!

This is the bread, toasted with coconut oil in a skillet, and made into a chickpea salad sandwich for my Ish...

...or a grilled cheese sandwich for me.
The possibilities are endless!
One thing to keep in mind with this bread is that, because it is homemade and has no preservatives, it has a short shelf life. The bread should be eaten in a matter of a few days and up to a week. After that, there is a chance that it can get hard, stale, or worse...moldy. If the bread does start to get old and stale, there are several things you can do withought throwing it away--like bread pudding, croutons, or bread crumbs. Of course, when it gets moldy, you will have no other choice but to discard it.
I hope that you will make a loaf. Please let me know how it turns out for you. This is one of several bread recipes. I have other ideas for bread that I want to test before posting here on the blog. Thank you for taking the time to check out "Teacher Of Good Things", and until then...Shalom shalom.
Bathshua