
Shalum Alechim:
This entry is way overdue--as it was started on Christmas Day. For the last couple of months, my job has been running me ragged with all of the mandatory OT. I guess the tradeoff is the extra money, but I digress...
How would you like to have the juiciest, most tender fried chicken EVER. The secret is buttermilk. I saw this first done, if my memory serves me correct, almost 20 years ago on Martha Stewart. I thought "wow, that is a cool idea." I first tried it about 13 years ago when I was making a "husband meal" for a fella I was dating then (you know the deal ladies. Gotta show them that you got skills in the kitchen). When I first made buttermilk fried chicken, I used boneless, skinless chicken breasts because I didn't like the skin--nor did I want to deal with the bones. Well, thankfully I outgrew that, and so I use the whole chicken.


When I say the whole chicken, I mean the whole chicken--hence the pic to the left above. Buying a whole chicken instead of the already cut pieces is more cost effective. That chicken cost me only $6.88. If I would've bought the pieces, it would've been a couple of dollars more. Cutting up a chicken is easy. The carcass itself seems as if it has a "guide" as to where to cut. I started with the legs first, then cut the joint between the thighs and the drumsticks. I then cut the wings, and then the breasts. I cut the breasts along the breastbone and kept some of the bone on as much as possible. You want to have some bone--especially for the breasts, because they are known to dry out quicker...and we know what dry chicken is like. Not pleasant. While I already knew how to cut a chicken, I'm certain that if you need a visual (which I could've had, but I was by myself), there are a plethora of YouTube videos to show you how. I encourage you ladies to learn to cut a chicken. It is a wonderful skill to have, and I'm sure your husbands would be grateful for any cost savings.

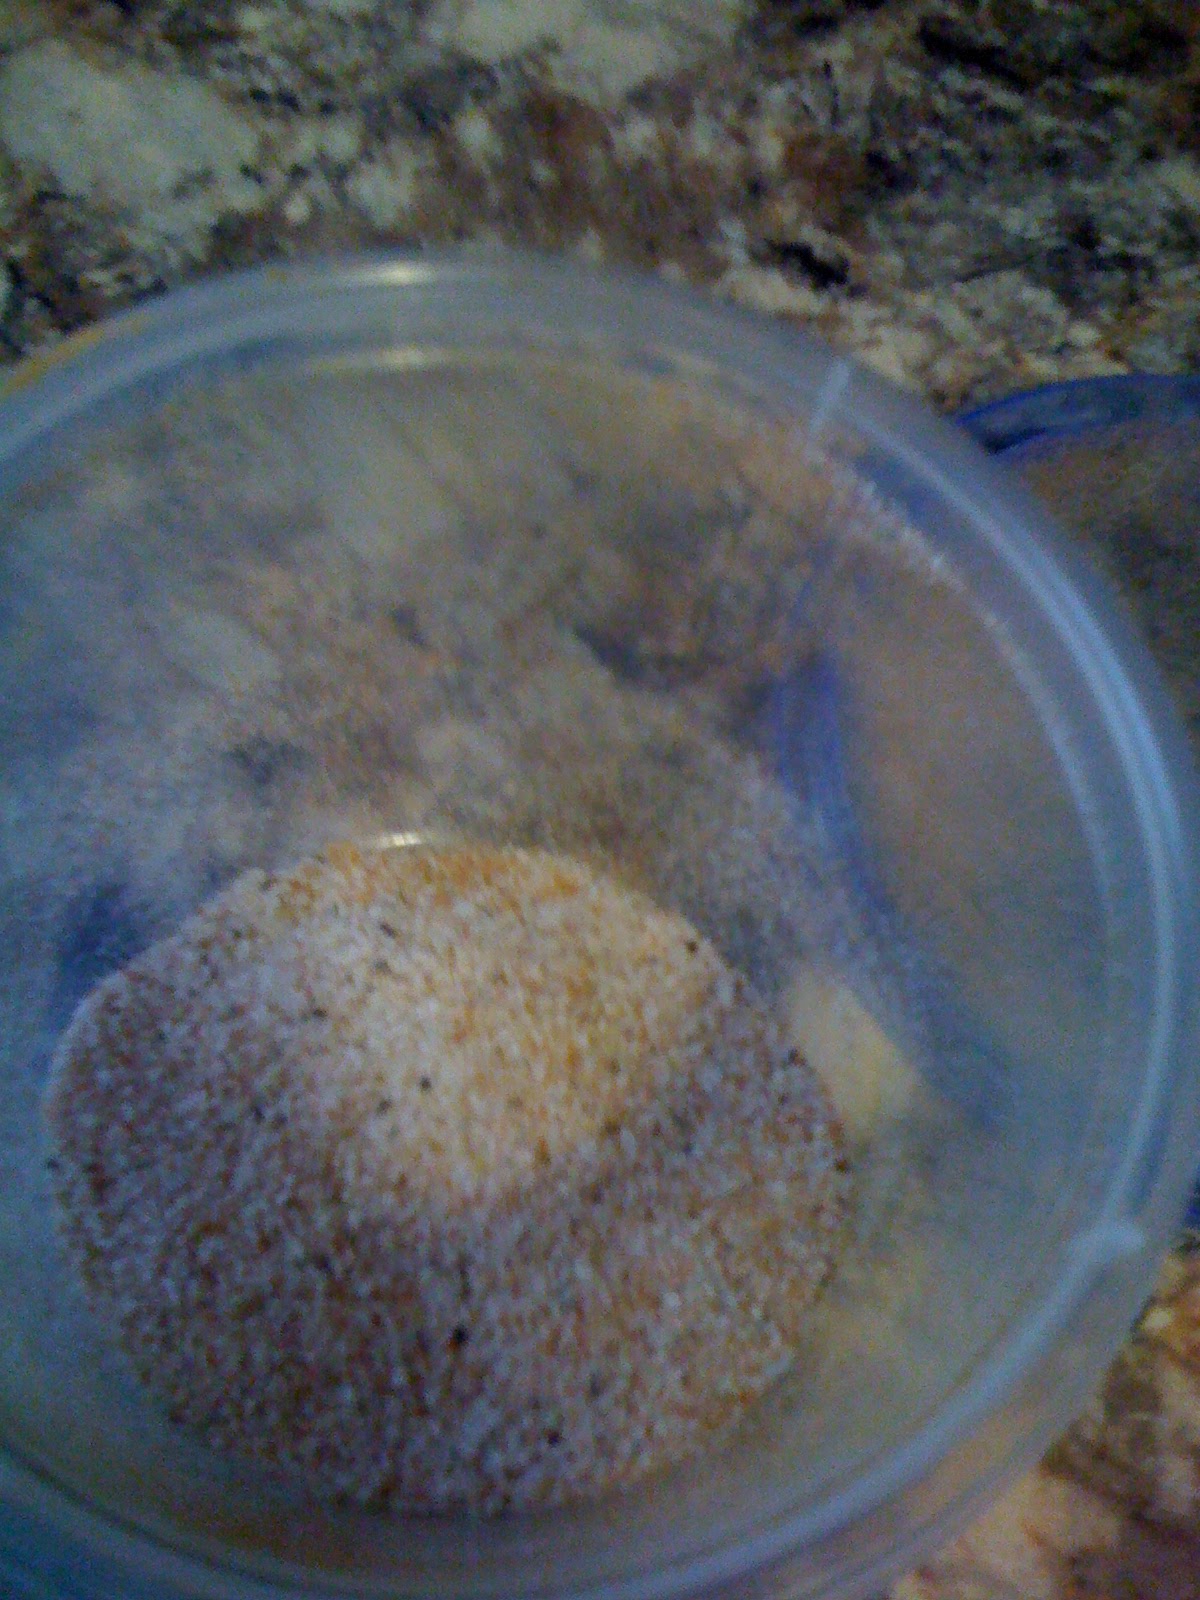
You can't have flavorful fried chicken without seasoning. I know that there are fried chicken seasonings out there you can purchase, but I decided to make my own--hence the picture on the left. I'm sure you're asking, "how do you make fried chicken seasoning?" It's very simple. As long as you have salt, pepper, and paprika, then that should be a good start. Mine is salt, pepper, garlic powder, paprika, and curry powder. You can adjust the seasonings based on your tastes and the spices that you like. I think next time, I would like to try it with smoked paprika. Experiment and see what you like. Either way, I'm sure your family and friends will be most appreciative.


After seasoning, it's time for the chicken to take a buttermilk bath. Why buttermilk? In my experience, I've noticed that the buttermilk makes the chicken more tender and juicy--as well as make the coating crispier. In the pics on the top left and right, the buttermilk was just added to the chicken. As you can see, the chicken is totally immersed in buttermilk. The pic at the bottom is 24 hours later. It's best to let the chicken sit for a couple hours, and overnight is better. It gives the buttermilk time to work on the proteins, thus tenderizing the chicken.

After my 24-hour buttermilk chicken bath, it's time for the coating. This is simply flour and my house made fried chicken seasoning. I made sure I put in extra flour because the buttermilk will be clinging to the chicken, and thus taking on a bit more flour. I didn't see that as a problem because it added to the crispiness of the coating.


Time to fry the chicken. I heated the oil first for a few minutes. You want to make sure that the oil is hot before adding the chicken. If you add the chicken in a pan with cold oil, the chicken will become more greasy and you won't get a crispy coating. I must emphasize on HOT oil. Now, professionals may use a thermometer to check to see if the temperature is 350 degrees F. I don't have such a thermometer, so you can test the oil by dropping some flour into the oil. If the flour sizzles when added to the oil, then it's ready. Fry On! When frying, you want to make sure that the chicken is FULLY COOKED! As you know, eating uncooked chicken can make one sick, and could be fatal to those with compromised immune systems. That being said, I would fry the pieces for at least twenty minutes to thirty minutes. I have also noticed that the buttermilk helps the chicken cook quicker, so smaller pieces like the wings and drumsticks took about ten to fifteen minutes.
To accompany the chicken, I also made garlic and Parmesan mashed potatoes--hence the pic on the right. I first started with five cloves of freshly minced garlic (I prefer fresh garlic over the stuff in the jar), but I remember making them and couldn't really taste the garlic. I took a bold move by adding a whole head of garlic. From experience, that was a bit TOO much--as much as I love garlic. Next time, I will either use less or roast the garlic (perhaps I'll do an entry on how to roast garlic).


Fried chicken and mashed potatoes...Done!

Dinner! I also added a kale salad as a proper vegetable. The salad is simple--only kale, tomatoes, and onions. On the salad is my house vinaigrette--which is salt, red pepper flakes, fresh minced garlic, thyme, white wine vinegar, and olive oil. Delicious!
So there you have it! It was a wonderful meal! I hope that you will make buttermilk fried chicken for your family and friends. If you do, I would love to know how it turned out--as well as sharing anything that you've done differently. I'm looking forward to hearing from you.
Thank you for taking the time to stop by "Teacher Of Good Things". See you next time.
Yah Bless!
This looks amazing.I'm an teen Israelite and I was looking for meals that I could cook for my future husband Lord's will, and this is a great recipe. Thanks
ReplyDeleteShalom! MHNCB
Shalom achut! Todah for stopping by. This will be an excellent meal to cook for your future husband. I encourage you to practice making this now. Please let me know how it turns out for you!
Delete