Saturday, February 13, 2016

Cooking: Vegan Pancakes


Shalum alechim!

Yes, you read the title correctly... VEGAN PANCAKES!

I'm sure you're thinking "Why is she talking about vegan, when her last entry was about Buttermilk Friend Chicken?". While I am (am will remain) a meat eater, my fiancĂ©e is a vegan. I saw his version of these pancakes on his Facebook page in the very early part of our relationship. Now, being the pancake aficionado that I am, I was instantly intrigued. His looked so good and fluffy, I was wondering how could this be done when there is no dairy or eggs?  Then one time, we made them together.  I was hooked!  I am now addicted to these, and considering that these come out perfectly!  I have tried to make pancakes the conventional way--using milk and eggs.  FAIL!  They would come out rubbery. Not good.   I will, however, give ultimate credit where it is due--as this recipe is adapted from " Breville presents Make It Vegan: Recipes from the Yiddish Speaking, Nebraska living, post-punk vegan" by Isa Chandra Moskowitz. 

Here are the ingredients for the pancakes. 

In this bowl is 1 1/2 cups of all-purpose flour, 3 1/2 teaspoons baking powder, 2 tablespoons sugar, and 1 teaspoon salt. The original recipe calls for the dry ingredients to be sifted, but I don't have a sifter.  I find that using a wire whisk to mix everything and break up the big flour clumps works just as well as sifting. 

Here are the sifted, er, whisked dry ingredients. After that, put a well in the center. 

Next, it's time for the wet ingredients. We'll start off with a one cup of non-dairy milk. This is vanilla-flavored almond milk. 

Now, 2 teaspoons of apple cider vinegar is added...

...and one tablespoon of ground flax seeds. 

Mix for about a minute, until frothy. Here is your vegan substitute for eggs and dairy

Next, you add the wet ingredients to the dry--along with 3 tablespoons of oil and 1/2 teaspoon of pure vanilla extract. The original recipe calls for canola oil, but I have vegetable oil in the house, and it works well. 

Mix and let rest for about 10 minutes. 

While the batter is resting, I take the time to clean up their dishes used for prepping the batter, and to heat up the griddle.   I also sprayed the surface with cooking spray. 

Here is the batter...rested and ready for the griddle. 


The original recipe calls for 1/3 cup of batter per pancake. I like my pancakes a little bigger, so I used two 1/4 cup scoops. Now you can put up to four pancakes per side of the griddle. I put one per side because it gives me more room for flipping. 

After about 2 to 2 1/2 minutes (or when you see the sides from the bottom dark enough. It all depends on how hot your cooking surface gets and how fast it gets hot), flip.  Allow pancakes to cook on the other side for the same amount of time as the first side. 

Here are the first two. I'm making a stack of four.


Four vegan pancakes...DONE. Don't they look lovely?

Topped with blueberry ginger sauce--which was a part of the original recipe. I too, adapted the sauce recipe--which called for 16 oz blueberries, fresh or frozen (I used 24 oz. or two bags of frozen blueberries. I used frozen over fresh because fresh blueberries are currently not in season. Frozen ones were picked and frozen at the peak of the season), 2 tablespoons water (I used 4 tablespoons because of the extra blueberries used), 1/3 cup sugar to start (I used one cup), one tablespoon organic cornstarch (I had none, so I used flour. It worked well), and 2 tablespoons of fresh, minced ginger (I cut off a sizeable piece of ginger root.  I think I added more because of the extra blueberries).  Mix all ingredients, but ginger in a 4-quart saucepan until cornstarch, er, flour is thoroughly incorporated. Cook until a slow boil. Add ginger and simmer for 7 minutes or until sauce is thickened. I did not make more because I had some left over from my last batch. 


Yum!  Look at that fluffiness!

So, there you have it.  Delicious, light, airy, fluffy goodness!  Perfect for these cold weekend mornings...or for any time you're craving pancakes. Although the love of my life is vegan, he is not requiring for me to be so. He has, however, been inspiring me to eat less meat. Did you know that the average American eats 100 lbs of meat per person per year?  That's a lot. Michael Pollan, one of my favorite authors, says "Eat food.  Not too much. Mostly plants." That's a quote to chew on (pun intended).

I hope you will try them. Let's talk about it with your comments. Until then..Shalum. 

Wednesday, January 13, 2016

Cooking: Buttermilk Fried Chicken


Shalum Alechim:

This entry is way overdue--as it was started on Christmas Day.  For the last couple of months, my job has been running me ragged with all of the mandatory OT.  I guess the tradeoff is the extra money, but I digress...

How would you like to have the juiciest, most tender fried chicken EVER.  The secret is buttermilk.  I saw this first done, if my memory serves me correct, almost 20 years ago on Martha Stewart.  I thought "wow, that is a cool idea."  I first tried it about 13 years ago when I was making a "husband meal" for a fella I was dating then (you know the deal ladies.  Gotta show them that you got skills in the kitchen). When I first made buttermilk fried chicken, I used boneless, skinless chicken breasts because I didn't like the skin--nor did I want to deal with the bones. Well, thankfully I outgrew that, and so I use the whole chicken.  


When I say the whole chicken, I mean the whole chicken--hence the pic to the left above.  Buying a whole chicken instead of the already cut pieces is more cost effective.  That chicken cost me only $6.88.  If I would've bought the pieces, it would've been a couple of dollars more.  Cutting up a chicken is easy.  The carcass itself seems as if it has a "guide" as to where to cut.  I started with the legs first, then cut the joint between the thighs and the drumsticks.  I then cut the wings, and then the breasts.  I cut the breasts along the breastbone and kept some of the bone on as much as possible.  You want to have some bone--especially for the breasts, because they are known to dry out quicker...and we know what dry chicken is like.  Not pleasant.  While I already knew how to cut a chicken, I'm certain that if you need a visual (which I could've had, but I was by myself), there are a plethora of YouTube videos to show you how.  I encourage you ladies to learn to cut a chicken.  It is a wonderful skill to have, and I'm sure your husbands would be grateful for any cost savings.


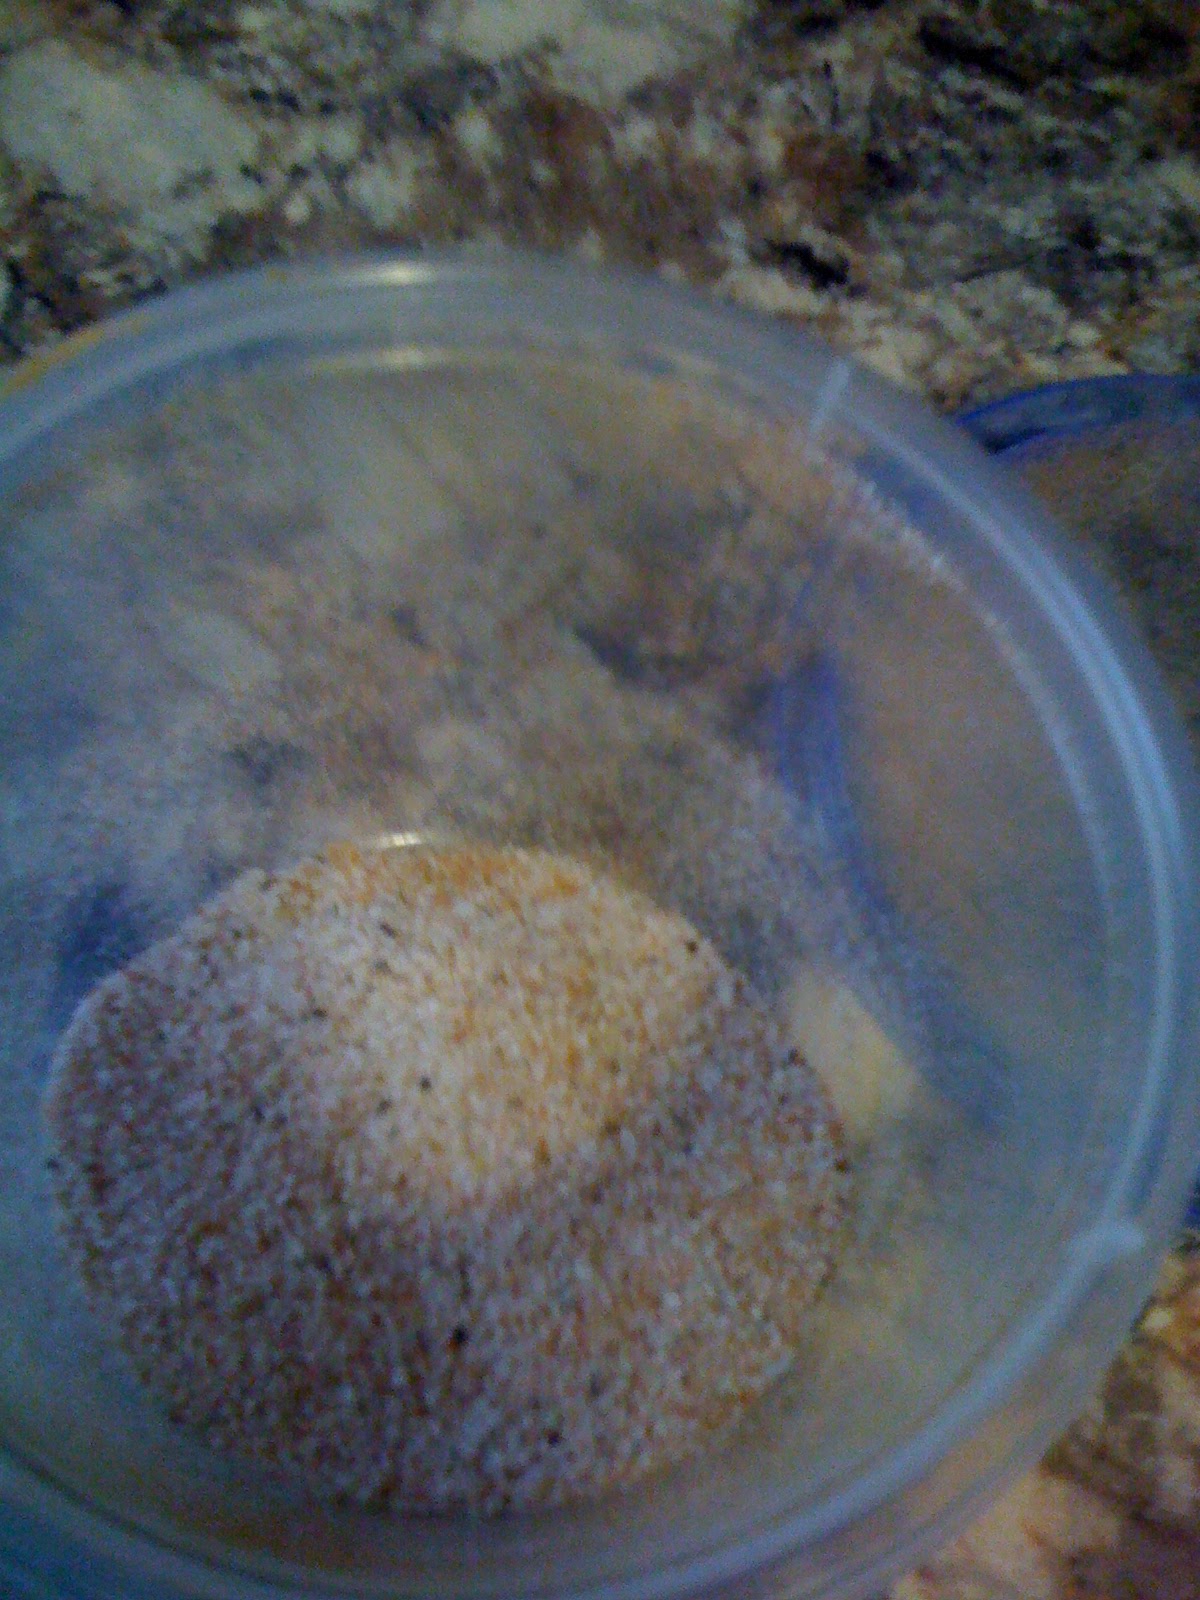
 You can't have flavorful fried chicken without seasoning.  I know that there are fried chicken seasonings out there you can purchase, but I decided to make my own--hence the picture on the left.  I'm sure you're asking, "how do you make fried chicken seasoning?"  It's very simple.  As long as you have salt, pepper, and paprika, then that should be a good start.  Mine is salt, pepper, garlic powder, paprika, and curry powder.  You can adjust the seasonings based on your tastes and the spices that you like.  I think next time, I would like to try it with smoked paprika.  Experiment and see what you like.  Either way, I'm sure your family and friends will be most appreciative.


After seasoning, it's time for the chicken to take a buttermilk bath.  Why buttermilk?  In my experience, I've noticed that the buttermilk makes the chicken more tender and juicy--as well as make the coating crispier.  In the pics on the top left and right, the buttermilk was just added to the chicken.  As you can see, the chicken is totally immersed in buttermilk.  The pic at the bottom is 24 hours later.  It's best to let the chicken sit for a couple hours, and overnight is better. It gives the buttermilk time to work on the proteins, thus tenderizing the chicken.  
After my 24-hour buttermilk chicken bath, it's time for the coating.  This is simply flour and my house made fried chicken seasoning.  I made sure I put in extra flour because the buttermilk will be clinging to the chicken, and thus taking on a bit more flour.  I didn't see that as a problem because it added to the crispiness of the coating.


Time to fry the chicken.  I heated the oil first for a few minutes.  You want to make sure that the oil is hot before adding the chicken.  If you add the chicken in a pan with cold oil, the chicken will become more greasy and you won't get a crispy coating.  I must emphasize on HOT oil.  Now, professionals may use a thermometer to check to see if the temperature is 350 degrees F.  I don't have such a thermometer, so you can test the oil by dropping some flour into the oil.  If the flour sizzles when added to the oil, then it's ready.  Fry On!  When frying, you want to make sure that the chicken is FULLY COOKED!  As you know, eating uncooked chicken can make one sick, and could be fatal to those with compromised immune systems.  That being said, I would fry the pieces for at least twenty minutes to thirty minutes.  I have also noticed that the buttermilk helps the chicken cook quicker, so smaller pieces like the wings and drumsticks took about ten to fifteen minutes.

To accompany the chicken, I also made garlic and Parmesan mashed potatoes--hence the pic on the right.  I first started with five cloves of freshly minced garlic (I prefer fresh garlic over the stuff in the jar), but I remember making them and couldn't really taste the garlic.  I took a bold move by adding a whole head of garlic.  From experience, that was a bit TOO much--as much as I love garlic.  Next time, I will either use less or roast the garlic (perhaps I'll do an entry on how to roast garlic).


Fried chicken and mashed potatoes...Done!

Dinner!  I also added a kale salad as a proper vegetable.  The salad is simple--only kale, tomatoes, and onions.  On the salad is my house vinaigrette--which is salt, red pepper flakes, fresh minced garlic, thyme, white wine vinegar, and olive oil.  Delicious!

So there you have it!  It was a wonderful meal!  I hope that you will make buttermilk fried chicken for your family and friends.  If you do, I would love to know how it turned out--as well as sharing anything that you've done differently.  I'm looking forward to hearing from you.

Thank you for taking the time to stop by "Teacher Of Good Things".  See you next time.

Yah Bless!


Saturday, January 9, 2016

Inaugrual Post

Shalum Alechim:

Welcome to Teacher Of Good Things.  This is a continuation of my former blog "The Thrifty Gemini" (which will remain open for reference), but in terms of my life changes.  What are those changes?  I'm so glad you asked!

First, I have come into some true teachings about who I am.  I have been opened to the fact that I am a Hebrew Yisraelite based on Deuteronomy 28 in the Scriptures.  As a result, it is my charge according to The Most High to live by His laws, statues, and commandments in terms of the whole of the Scriptures--not just the Old Testament or New Testament.  Does this make me uber-religious?  No. What I believe and practice is not a religion.  It is a lifestyle.  It is based on following the laws in the Scriptures--which predate current law, and which current law, for the most part emulates.  As a result, I am also charged to live my life as an example in righteousness, truth, and virtue.

Second, the name of the blog.  Why is it called "Teacher Of Good Things"?  Titus 2:3 says "The aged women likewise,that they be in behaviour as becometh holiness, not false accusers, not given to much wine, teachers of good things."  Now, if you look at my picture, I don't know if you would qualify me as "aged", but that term does not just denote chronological age.  It could also denote experience, knowledge, or wisdom.  I have learned a number of things over my life--things that can be deemed worthy to be passed on to those who may not know.  It's like a talent or a skill.  If one hides them, then what good are they?  They should be used to bless and pass onto others.  Likewise, The Most High has blessed me with the ability to do certain things--whether it be cooking, crafting or gardening.  Just like in "The Thrifty Gemini", I would also like to include diy and bargain hunting as well.   So, the things that I know, my hope is for this blog to be a vessel in order to do that.  And for the things I do not know or am not familiar with, it is also my hope to take you along on my journey to learn.  Perhaps, you can give me tips and suggestions and, you too, could also be a "Teacher Of Good Things".

Again, welcome and I'm so glad that you stopped by.  Let's do all good things together.

Yah bless.